DIY radon mitigation: how to lower radon in your home, step by step
TL;DR: If your home’s long-term radon average (ideally measured over 90 days or more) is at or above 4.0 pCi/L (150 Bq/m³), the EPA recommends fixing your home. Start with DIY steps: seal foundation cracks and pipe gaps, cover your sump pit, lay a vapor barrier over exposed earth, and improve ventilation. If levels are still high, a certified radon professional will usually install an Active Sub-Slab Depressurization (ASD) system, typically costing $1,200–$2,500 depending on your home. Levels usually drop within 24–48 hours of installation. Keep monitoring afterwards to confirm the fix worked and keeps working.
Have you recently tested your home and discovered high radon levels? It’s very normal to feel daunted and a bit panicky. If you’re reading this, then you probably already know that radon is a radioactive gas and that long-term exposure to high radon levels is the leading cause of lung cancer among non-smokers in the United States.
Unsure what radon actually is? Read our in-depth guide first: What is radon? Understanding the invisible gas and safe indoor levels.
Although it’s a daunting issue, high radon inside your home is something that can be fixed, with the results usually permanent. As the EPA (Environmental Protection Agency) states:
Radon reduction systems work. Some radon reduction systems can reduce radon levels in your home by up to 99 percent. Most homes can be fixed for about the same cost as other common home repairs.
Your next thought is likely: how do I fix my radon problem, and can I do it myself?
The short answer is yes, there are several DIY steps you can take to lower your radon exposure, which we explore below. However, if you make some simple fixes and your long-term average radon level remains at or above 4.0 pCi/L (150 Bq/m³), you will likely need a professional mitigation system, usually an Active Sub-Slab Depressurization (ASD) system, installed by a certified or qualified radon mitigation professional. Outside the US, action levels differ: Health Canada, for example, recommends action above 200 Bq/m³.
While it’s possible to install the system yourself with the correct training course or information from your state radon office, we recommend getting help from a pro. Without the proper equipment or technical and building structure knowledge, there’s a chance of actually increasing your radon level. You might accidentally create other hazards or end up increasing costs if something goes wrong.
How do I get started with fixing my radon problem?
Here is a straightforward, step-by-step guide on what DIY radon mitigation looks like, what actually works, and how to ensure your home is (and remains) safe from radon.
Step 1: Confirm your home’s average radon levels with continuous monitoring
Before you spend weekends caulking your basement or hundreds of dollars on supplies, make sure you actually have a long-term radon problem.
Short-term, mail-in charcoal tests likely won’t give you an accurate picture. Radon levels fluctuate constantly, especially when the weather changes (such as snowfall or heavy rainfall). A high reading from a 48-hour test does not necessarily mean your home’s year-round average is dangerous.
Read our guide on radon testing to learn more: How to test for radon.
The DIY fix: Don’t guess what your radon levels are. Install a continuous digital radon monitor in the lowest lived-in level of your home, preferably during the colder months. A few weeks of data will give you a strong indication, and 90 days or more gives you a reliable long-term average. If this long-term average is at or above 4.0 pCi/L, proceed to the mitigation steps below. A continuous monitor will also show you, in real time, whether each fix you make is working.
Measure before, during, and after you mitigate
One monitor confirms you have a problem, shows whether each DIY fix is working, and tells you if a mitigation system ever stops doing its job. No lab, no repeat test kits.

Corentium Home 2
Battery-powered radon monitor for basements, with daily, weekly, and long-term averages in the app, plus temperature and humidity.
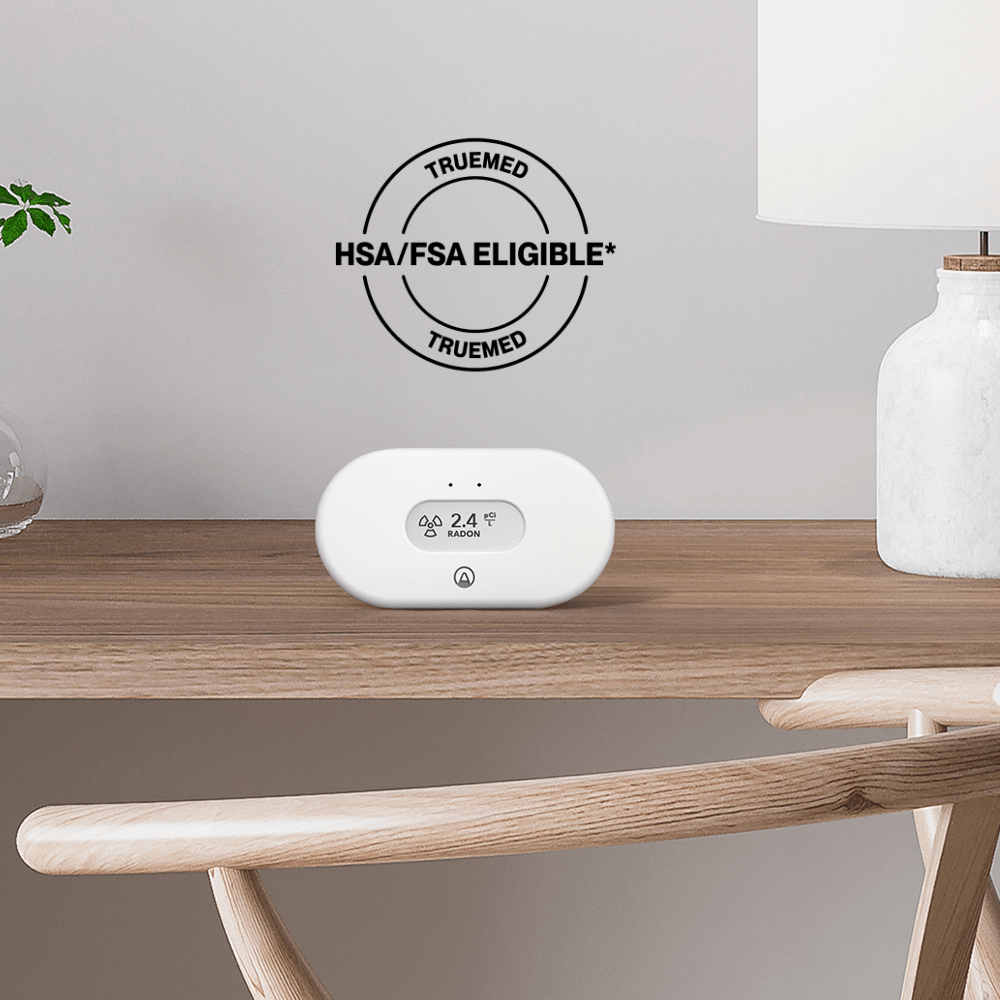
View Radon
Smart radon monitor for the basement or ground floor, with remote access to your readings.
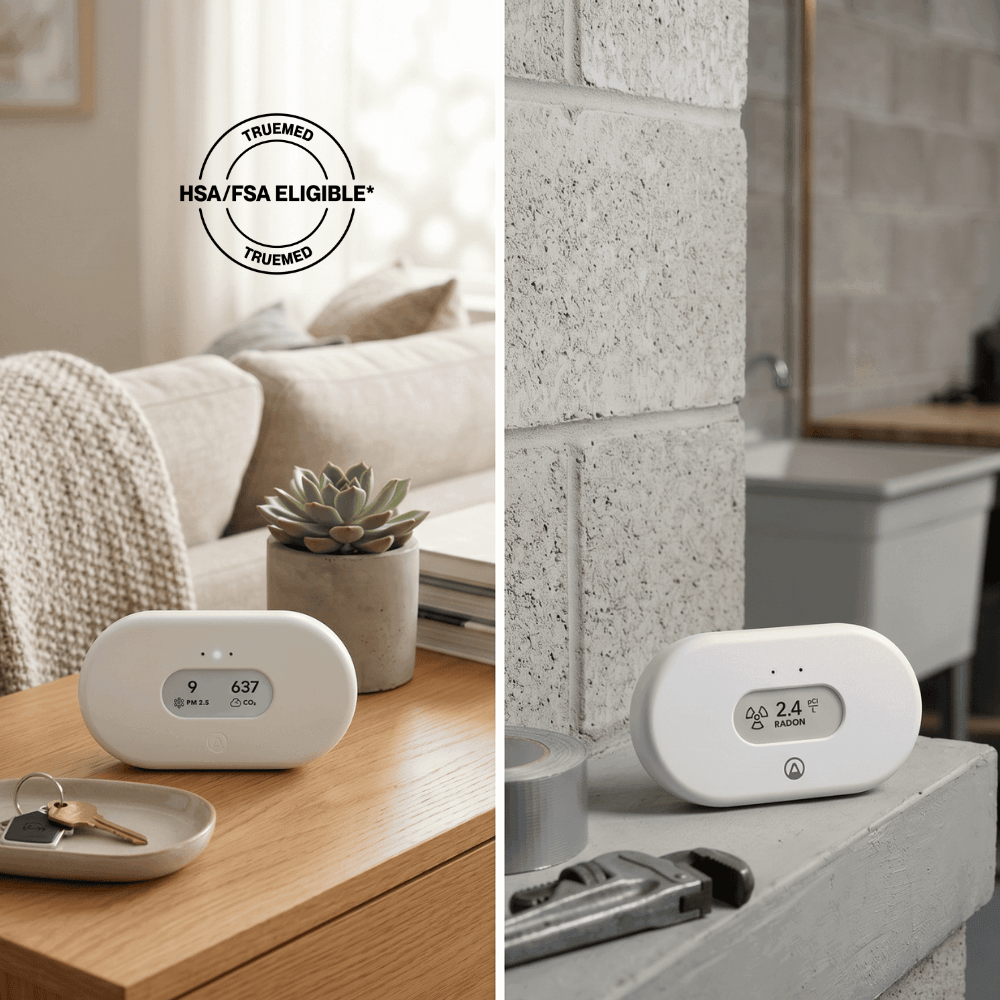
Living Room + Basement
View Radon for the basement plus View Plus for complete air quality in your main living space.
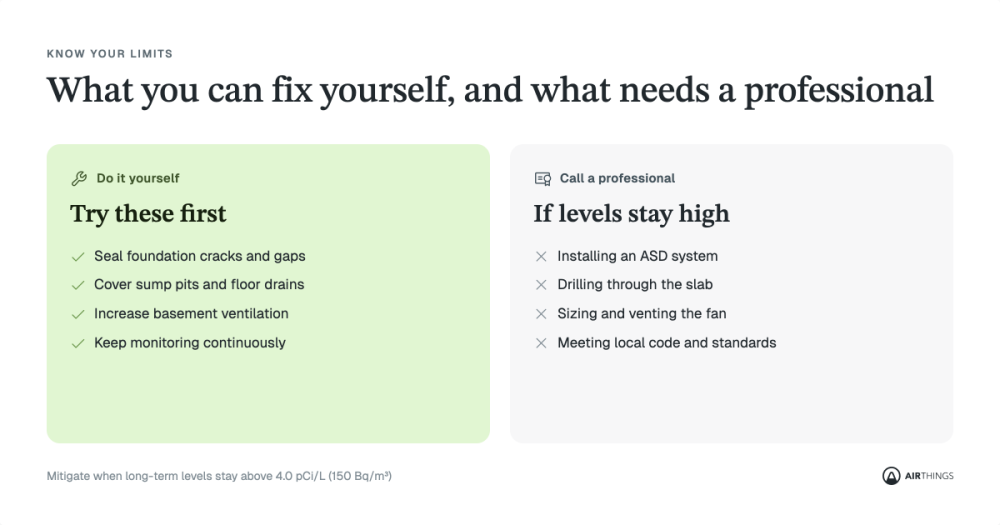
Step 2: Seal radon entry points in your foundation (passive mitigation)
Radon gas is pulled up from the soil underneath and then into your home because the air pressure inside your house is lower than the pressure in the ground. By sealing the gaps in your home’s foundation, you can reduce how much gas gets in.
While sealing alone rarely fixes a severe radon problem, it is an excellent DIY starting point that can noticeably lower your numbers.
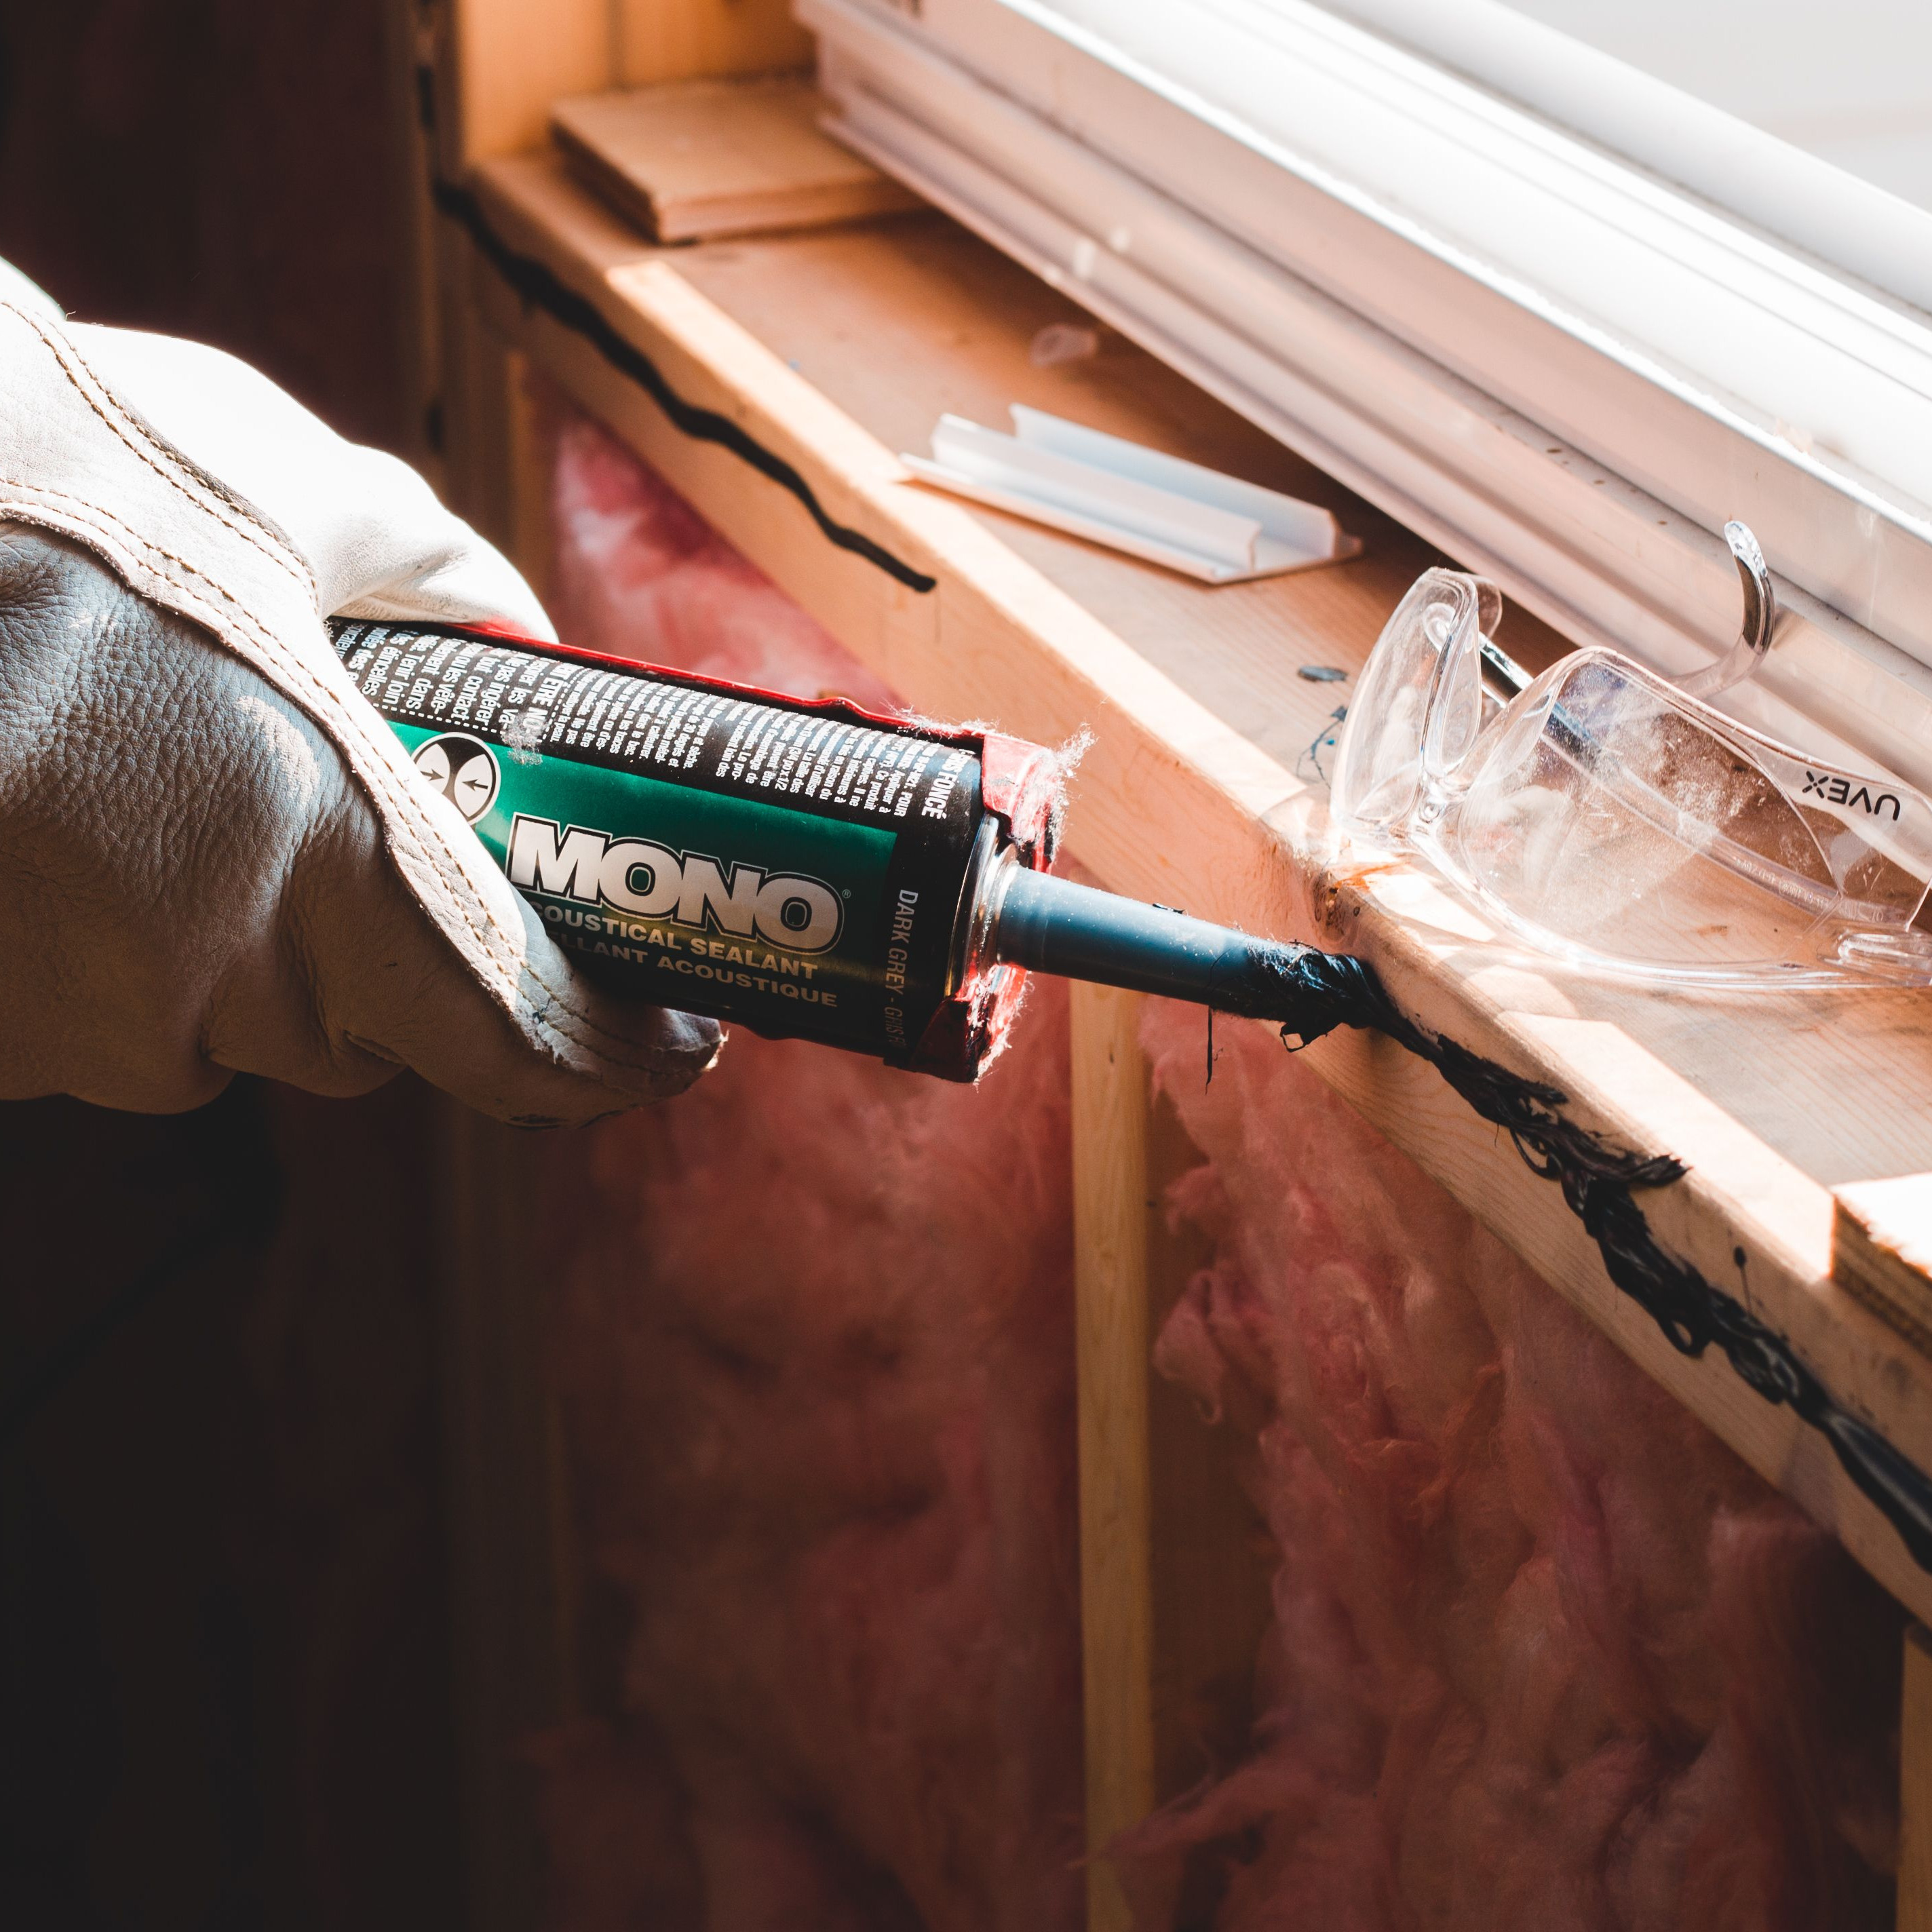
- Caulk foundation cracks: Inspect your basement floor and walls. Clean out any visible cracks and fill them with a high-quality, elastomeric polyurethane caulk (do not use standard silicone, as it will peel away from concrete over time).
- Seal pipe penetrations: Check the areas where plumbing pipes, wiring, or gas lines pass through your concrete floor or walls. Seal these gaps tightly with expanding foam or polyurethane caulk.
- Cover your sump pump: If you have an open sump pit in your basement, it is effectively an open chimney for radon gas. Purchase and install an airtight, gas-tight sump pump cover. Ensure all pipe penetrations through the lid are sealed with rubber grommets.
- Treat exposed earth: If your home has a crawlspace with an exposed dirt floor, lay down a thick, high-density polyethylene vapor barrier (at least 6-mil thick). Overlap the seams and tape them securely to the foundation walls.
Step 3: Improve home ventilation
Radon builds up when a house is sealed tight. By increasing the circulation of fresh outdoor air, you can dilute radon gas concentrations indoors.
- The DIY fix: If you have a basement with windows, try opening the windows on opposite sides of the room to create a cross-breeze, or run a window fan exhausting air out of the house.
- The catch: This is a temporary, climate-dependent solution. It is not energy-efficient during cold US winters or sweltering summers, and you cannot leave your windows open year-round. It is a great stopgap measure to temporarily lower levels while you work on permanent mitigation.
After each DIY step, check your radon monitor over the following days and weeks to see how much difference it has made.
Step 4: When should I call a radon professional (active mitigation)?
If you have already tried sealing foundation cracks, increasing basement ventilation, or treating exposed earth, but your radon monitor still shows a long-term average at or above 4.0 pCi/L, your DIY efforts have likely reached their limit. You need a system like Active Sub-Slab Depressurization (ASD), which is regarded as the “gold standard” for reducing radon in a home.
How does Active Sub-Slab Depressurization (ASD) work?
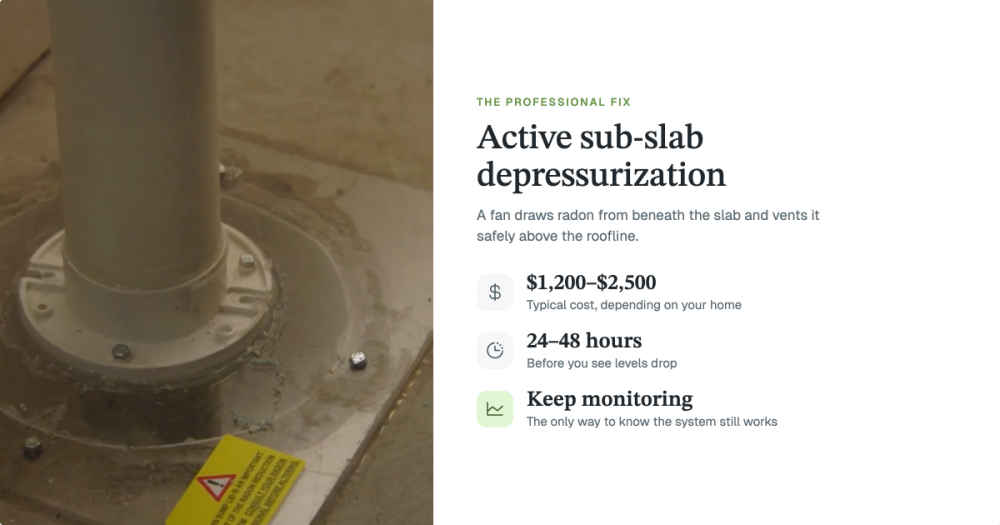
ASD works by using a continuously operating fan (often known as a radon fan) to create low pressure beneath a home’s foundation. This helps draw radon gas from the soil and then vents it outside before it enters the house. As a primary EPA-recognized technique, as described in the EPA’s Consumers’ guide to radon reduction: how to fix your home, ASD involves PVC piping inserted through the slab to establish a suction field, effectively reversing the natural pressure difference that draws radon into the building.
Can I install a radon mitigation system myself?
It is possible, with the right training or guidance from your state radon office, but for most homeowners it is not a good DIY job:
- Installing an ASD system requires specialized diagnostic pressure testing to ensure the fan is strong enough to pull air from beneath your entire foundation.
- Improperly installing a radon fan can actually reverse your home’s airflow, pulling more radon inside or causing dangerous carbon monoxide to backdraft from your furnace.
- Many certified contractors guarantee their work and will design the system to bring your levels below the EPA action level.
What about HRVs (heat recovery ventilation systems)?
An HRV system, also called an air-to-air heat exchanger, can be installed to offer a permanent way to increase ventilation, which will help reduce the radon levels in your home. These help increase ventilation by introducing outdoor air, then using the heated or cooled air being exhausted to warm or cool the incoming air. HRVs can be designed to ventilate all or part of your home, although they are generally best for reducing radon levels when used to ventilate only the basement. To ensure whole-home radon safety, ASD is generally recommended.
Where to find a certified radon professional
Health authorities, like the EPA, recommend that you use a certified or qualified professional. Websites like the NRPP (National Radon Proficiency Program) in the US have resources guiding you on how to find a certified radon mitigation professional.
For Canada, CNRPP (Canadian National Radon Proficiency Program) has similar guides.
How long does radon mitigation take?
Installing a radon mitigation system typically takes around one day. Radon levels usually drop significantly within 24–48 hours of installation; keep monitoring to confirm your long-term average has come down.
How much does professional radon mitigation cost?
Radon mitigation costs will vary according to the size and type of your home, as this might affect the type of system you need. National averages vary, but systems typically cost anywhere between $1,200–$2,500.
The EPA recommends getting an estimate from one or more qualified radon mitigation contractors for a comparison.
See our guide to DIY vs. professional radon mitigation costs.
Step 5: Why you need to keep monitoring after mitigation
Radon mitigation is not a one-off “set it and forget it” solution. Houses settle, new cracks form, and mitigation fans can eventually burn out (usually after 5 to 10 years of use). All these things mean it’s super important to keep monitoring your radon levels continuously after mitigation. If you have a digital monitor, especially one that’s connected to an app like the Airthings Corentium Home 2, you’ll be able to see if your radon levels change or start to creep back up.
Know your system is still working. A continuous radon monitor shows if levels start creeping back up after mitigation, long before a yearly test would.
Acting on high radon levels: Airthings case study
For Judith Spence, radon wasn’t something at the top of her mind when she moved from the city to the Canadian countryside for a healthier life. After discovering uranium mining in the region and testing her home with an Airthings monitor, Judith discovered that her home’s radon levels were around 100 times higher than the average level found outdoors. Judith’s husband worked to install a radon mitigation system and seal cracks around the foundations. Once this was up and running, their Airthings monitor showed radon levels dropping almost immediately after installation, helping them regain peace of mind that their home was safe and healthy.
Frequently Asked Questions (FAQ)
Can I mitigate radon myself?
Partly. Most homeowners can seal cracks and pipe gaps, cover a sump pit, lay a vapor barrier in a crawlspace, and improve ventilation themselves. Installing an active sub-slab depressurization system is possible with the right training, but it requires pressure testing and knowledge of airflow and building design, so a certified professional is recommended, especially at higher levels.
What is the cheapest way to lower radon?
Start with the low-cost DIY steps: sealing foundation cracks and pipe penetrations, covering an open sump pit, and laying a vapor barrier over exposed earth in a crawlspace. Improving ventilation is free but only temporary. Use a radon monitor to see how much each step helps before deciding whether you need a professional system.
Does opening windows reduce radon?
Yes, temporarily. Opening windows introduces fresh air that dilutes the radon concentration. However, once the windows are closed, radon levels will return to their previous highs within a matter of hours.
How long does DIY radon mitigation take?
Simple fixes like sealing cracks or improving ventilation can often be completed in a weekend. More advanced DIY systems, such as active sub-slab depressurization, may take several days depending on the size and construction of the home.
Will sealing foundation cracks stop radon?
Not completely. Sealing visible cracks and gaps can help reduce some radon entry points, but on its own it is usually not enough to significantly lower radon levels. Sealing is most effective when combined with an active mitigation system.
How much is professional radon mitigation?
In the US, a professionally installed active sub-slab depressurization system typically costs between $1,200 and $2,500, depending on your home’s layout, foundation type, and the local climate.
How do I know if my DIY mitigation worked?
The only reliable way is to measure again after making changes. A continuous radon monitor shows how levels change after each fix and builds a new long-term average; a long-term test kit can also confirm whether levels have come down, but only once the test period is over.
Can an air purifier remove radon?
No. Radon is a radioactive gas, not a physical particle. Standard HEPA filters and air purifiers cannot trap or neutralize it. The only way to remove radon is to physically vent it out of the building.
Do I need to mitigate if my level is 3.0 pCi/L?
The EPA recommends that you consider fixing your home if your long-term levels sit between 2.0 and 4.0 pCi/L. While it is below the EPA action level, reducing your exposure to any known carcinogen is always the safest choice.
Can radon come back after mitigation?
Yes. Radon levels can change over time due to weather, seasonal conditions, foundation shifts, or changes to your home’s ventilation. Even after mitigation, regular testing is recommended to ensure levels stay low.
Should I test my home again after renovations or remodeling?
Yes. Renovations that affect your foundation, insulation, ventilation, or airflow patterns can change how radon enters and moves through your home. It’s a good idea to retest after major remodeling projects, especially in basements or lower levels.
Sources